


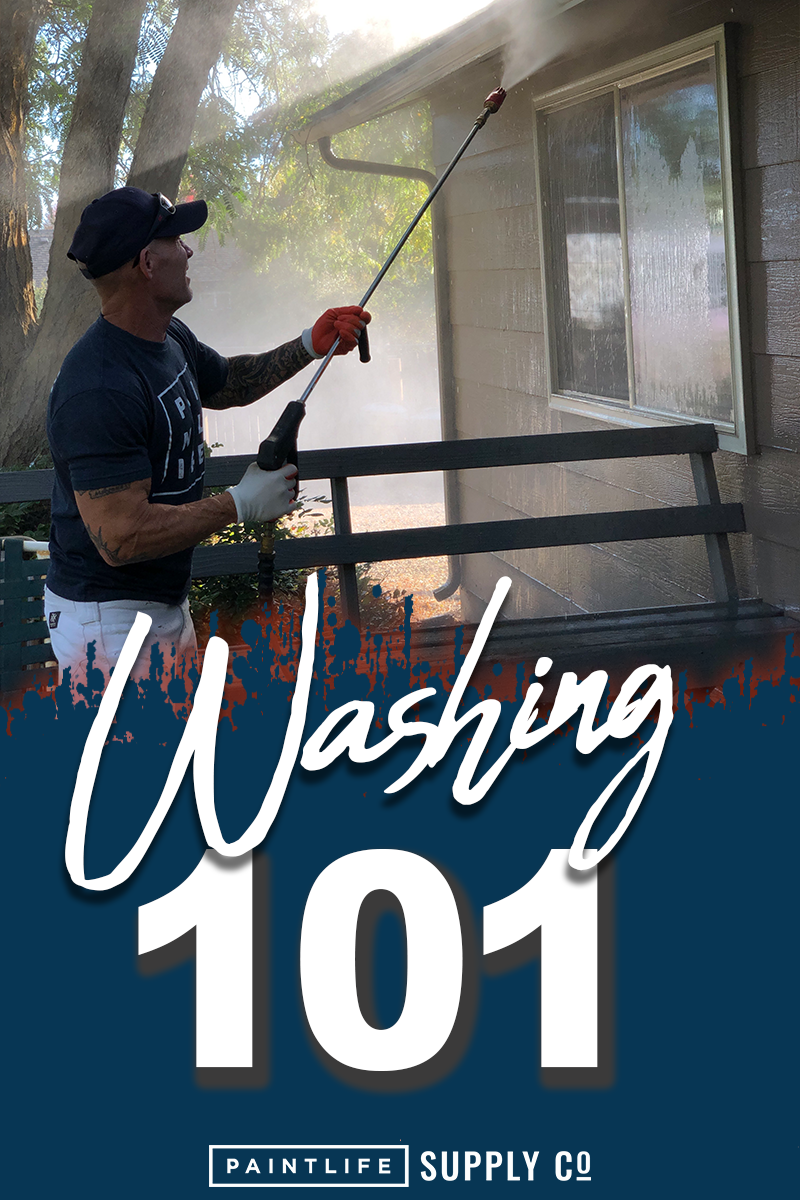
Pressure Washing Tools
It is Summer here once again! Either you’ve noticed your house is looking dirty or you’re prepping to paint it yourself, we’ve got some essential information to get you started on your pressure washing journey. Or, if you’re a professional painter who pressure washes each job during the prep process and is in need of some pointers to get it done faster and more efficiently, these tips and tricks will be able to help you out too.
Now, when purchasing a pressure washer, it’s best to keep in mind what you’ll typically be needing it for. The one I’m using most often is the MI-T-M 3200 PSI pressure washer that can run up to 2.4 gallons a minute. If you’re a professional painter doing large commercial buildings frequently, then you might need something a pressure washer that can go up to 5000 PSI and over 4 gallons a minute - the bigger the pressure washer, the more water you’re going to be able to throw out, and the faster you’ll be able to clean the surface.
For the intricacies and visual demonstration of setting up a pressure washer, check out this video on our YouTube channel. But once you’re ready to start, you’re going to want to locate your water source first so that you know where you can hook your hose up to. Most homes are going to have average handled faucets on the exterior of the home, but on commercial buildings, a lot of times, you’re going to need a key to be able to access the water. This is usually a safety feature so that companies can protect their water from being stolen or turned on by someone not suppose to be using it. I usually keep a water sillcock key in my vehicle for situations like this.
A lot of pressure washers are going to require gasoline to run. Make sure that you’ve got fresh gas in the tank, especially if you’ve left some sitting in the pressure washer all winter. Additionally, when you first buy your pressure washer, you’ll typically have to put in some oil and hydraulic fluid to keep the pump running smoothly. Once you do this, you shouldn’t need to replace it for several years, but after a long period of no use, make sure and check to see that everything is still all oiled up.
Some basic features of a pressure washer are going to include an on/off switch, a choke and pull string to start it up, and water input and outputs. The water input will typically have a filter on it - here in Idaho, some places run off of canal/irrigation water, so having the water filtered is going to help ensure that nothing is coming through the pump or out of your gun that you don’t want to. The output will feature a quick-release fitting to quickly attach your hose.
Pressure washers do usually have a knob or dial for you to adjust the pressure from low to high. I’ve never seen a pressure washer that is going to tell you the exact PSI you’re throwing out, but you’re still going to be able to raise and lower the pressure for your pressure washing needs.
Now, let’s talk about pressure washing tips for the end of the pressure washing gun. The most common ones out there are going to be the straight tips. A pack like this, while they are all different colors, are typically going to throw out different fan sizes - more or less water depending on the size of the orifice. For most scenarios, a straight tip is going to get the job done, but over the years I quickly found myself gravitating to a rotating nozzle. No other tip cleans as effectively as a rotating nozzle does! I’ve noticed that straight tips have a tendency to stripe or leave streaks on fences, decks, concrete, driveways, walkways, window screens, etc. I will tend to use a straight tip to hit high-up areas from the ground, or to knock down hornets nests. (Make sure they are dead first, otherwise you’ll have a bunch of angry hornets to deal with.)
A rotating nozzle is a ceramic tip that will agitate and clean the surface better than any other pressure washing tip out there. This tip has a filter inside it which allows for another barrier for debris to be caught by. This is true for any tip that you’re using, but if you’re not used to, or using a new tip, or even pressure washing for the first time, you can do serious damage very quickly. But, luckily, it is fairly simple and intuitive! The most important thing to remember is not to start too close to the surface - you’re throwing out a lot of PSI, so it’s best to stay further away until you get more comfortable. Within five minutes, you’ll have a good idea of how far away you should be standing. A quick learning curve! After all, you really don’t want to tear the siding or ruin a window.
Pressure washers typically have a space with grommets where you can store all of your tips, but those are not the most secure place for your tips - I’ve lost so many tips because they’ve vibrated out of the grommets and into the grass. I use this handy little device, which you can attach to your pressure washing gun with zip ties, and have the room to store either 4, 6, or 8 tips. It’s so much easier to have your tips with you while you’re working, especially if you’re running 150 feet of hose and are far away from your pressure washer when you need to switch to a different tip! With this tip holder, they lock in and have never fallen out.
Another tool I use when pressure washing is the spray flex. This is a tool that you can attach to the end of your pressure washing gun that is super flexible and allows you to contort it in whichever direction is needed. This is super helpful for cleaning out gutters from the ground, or even getting the footings on a house - no need to bend down. It holds its position with up to 5000 PSI running through it. The end of the pressure washing gun typically has a quick release on it for attaching tips, I usually remove that and put it on the end of the spray flex for the same purpose. The spray flex is perfect for doing downwards angles like when pressure washing a deck - there’s no need for me to bend down or stand at any awkward angles.
Alright, now that you know the basic features of a pressure washer, plus the tips and tools to use with it, let’s talk about turning this machine on! Make sure your water source is connected to the pressure washer before turning on the pump - the water running through is constantly going to be cooling down the pump. You should be mindful of not leaving the pressure washer running without it being in use - you can burn up the pump!
Once your gun is connected, you’ll also want to prime the system - hold down the trigger on the pressure washing gun until the water coming out is a solid stream. The system needs to prime all of the air out of the length of hose, otherwise your pressure washer is going to struggle to maintain a consistent stream and have good output for a few minutes.
Now, make sure that the on/off switch is on, the choke is on, and use the pull string to start the pump! While you’re doing that, make sure that you are holding the trigger on the pressure washing gun, otherwise it might be too hard to pull it back with all the pressure! Once it’s on, you can go ahead and release it, and go ahead and powerwash! Initially, you’ll also want to make sure that your gun is pointed at the ground, just in case the tip isn’t fully inserted - you wouldn’t want it to go flying off and damage something or someone. Additionally, don’t ever pull the trigger without having a tip in at all - there’s a black o-ring inside and if you lose it, you’ll be leaking water everywhere once that tip is back in.
Now, make sure your protective eyewear is on, and jump right into cleaning off your surface.
Pressure-washing tips
- Hoses
- If you’ve got a large building, hook up a large length of hose so that you don’t have to constantly be moving your pressure washer as you go.
- You definitely don’t want any kinks in your hose, so make sure everything is good to go before you start. If water isn't flowing to your pump, it may start to burn up.
- I like to wear gloves when handling the hoses, as they may be dirty. Keep your hands clean!
- Rotary-Surface Cleaner
- If you’re able to, using a rotary surface cleaner on decks and concrete will leave you with an even cleaner deck compared to just using a pressure-washing gun. It’s also twice as fast, and there won’t be any striping left behind on the surface to worry about.
- Technique
- Always pressure wash from the top down. If you’re going bottom up, you may be pushing dirt up the wall and will have to go over it all again. Save time, go from the top down.
- If there’s a lot of dirt or mud near the ground/bottom of the house, take the tip off and clean that area last to make sure you’re not blowing dirt back up onto the rest of the house.
- Make sure you’re not getting too close to window screens - you might have to rescreen then if something goes wrong. Keep your distance from exterior lights too.
- When pressure washing around windows and doors, check to make sure that there’s weatherstripping around them, if not, you may have to clean up water that ends up inside. For that same reason, be careful spraying water into vents.
- Be very careful when pressure washing on a wood roof that will be absorbing water - it could turn into a slip and slide very quickly!
- Storage
- When you’re all done, run pump protector through your pressure washer to increase its lifespan and to reduce the chances of corrosion.