


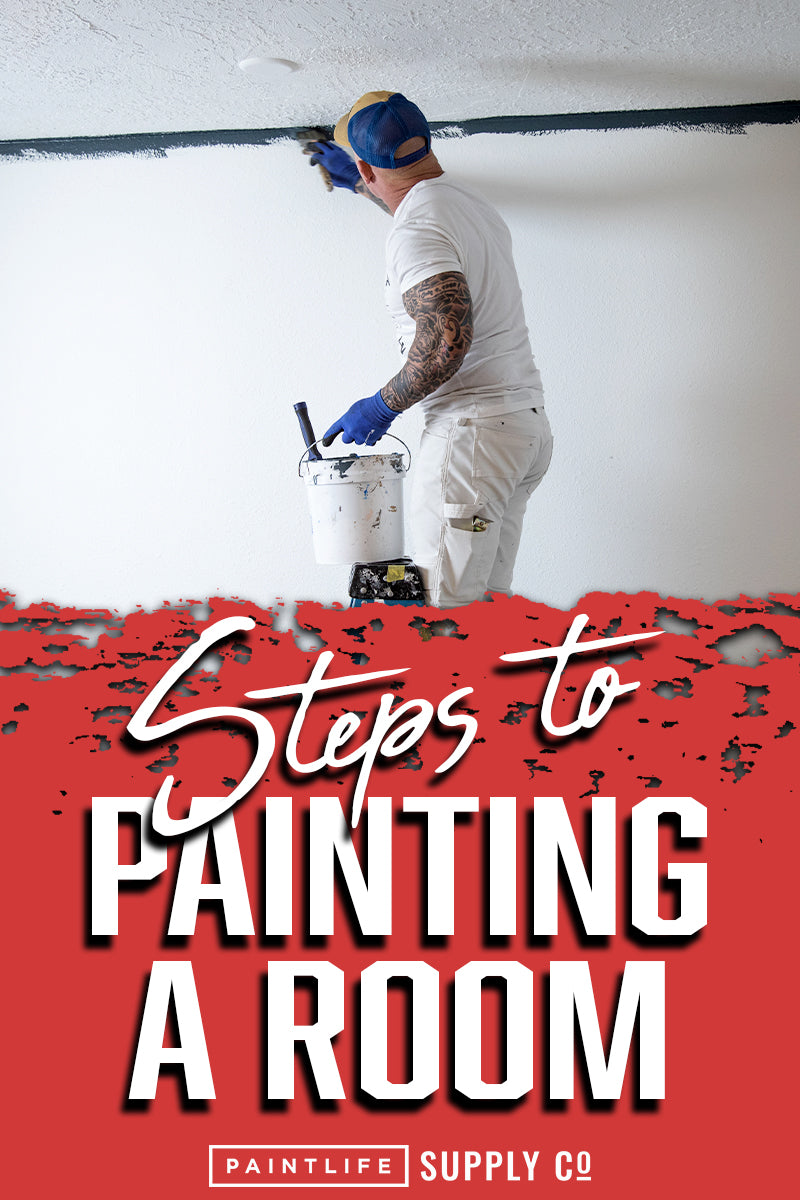
Steps To Painting A Room
The Six Steps To Painting A Bedroom
I frequently get a lot of feedback from DIYer’s that talk about how much they hate painting, and are looking at my videos for information on how to make the process faster and less painful. I think breaking it down into these six steps is going to make this process a lot more efficient and enjoyable! This breakdown is for painting a bedroom, or any interior room, and you can take a look at my YouTube channel for information on other types of projects - we’ve got everything from exterior repaints to cabinet painting! In our store, we’ve also got the best high-quality tools that you’ll need - throw your dollar store brushes and rollers out the window!
Room Prep
Before you even start thinking about painting, the first thing you’re going to want to do is empty the room that you’ll be working in. If you have a lot of things in your way while you’re painting, it’s going to make the painting process really frustrating. As difficult as it might be to get everything out of the room, it really is going to make it much easier to have the space you need to paint the walls and ceilings.
Everything you can’t remove from the room, you’re going to want to cover. As a professional painter, I often have access to an unlimited amount of drop cloths and 9x400 plastic. DIYer’s can benefit greatly from CoverGrip drop cloth or two, but if you’re not able to afford that investment, you can even use bed sheets to protect items or the ground in a given room. Find what works with your budget!
Wall Prep
Now that everything is out of the room, you’re going to want to prep your walls to make sure you get a good finish. The first order of business in that regard is to patch holes, remove raised texture spots and imperfection in the walls by scraping them off, and removing screws and nails. If pictures and paintings are going to be returned to the exact same spot after the painting process is complete, then I will usually just paint right over them rather than remove them. If not, then I will repair the spots where the nails and screws were.
During this step, you’ll also want to remove switch plates around outlets. Trying to paint around them by hand is a pain, and very risky if you’re inexperienced to avoid getting paint on the switch plate itself. If the color of the wall is changing drastically, I recommend removing the plates to ensure that you paint the area behind the switch plate. Future homeowners will appreciate this if the switch plates ever need to be changed in the future for bigger or smaller ones. What I usually do is cover the outlets with socket blockers until the painting process is complete - as a DIYer, one box will last you years as they are reusable, so it’s a great investment.
Paint stores will often try to upsell you to also buy a primer with your paint, but the truth of it is that if your walls have already been painted previously, and are in good condition with no exposed bare wood, then there is no reason for you to apply primer before painting!
Get Your Tools & Paint Ready
With over 30 years of painting experience, I’ve learned that having the right tools, and high-quality ones is going to greatly improve your painting experience. There’s a few things you just can’t cheap out on to get a good finish on your walls! One of the most important things I would recommend is buying a high-quality Premier Woven-Pro roller and Blue Tiger roller frame. This way, you’ll avoid a lot of issues with rollers falling off frames, frames bending, rollers not holding enough paint, etc. Another tool that can greatly improve your painting experience is an extension pole to attach your roller frame to. With one of these, you can avoid constantly going up & down on a ladder, and you’ll have less strain on your body overall.
Some other tools I’ll gather at this point in time is a 9” roller pan, a 2 gallon cut in bucket with a 4” mini roller, and all of masking materials - 9” paper and 1” tape.
Part of this step is also prepping your paint. I’m going to make sure I have a 5 gallon bucket at the ready, since every room is going to take multiple gallons. You’re going to need to strain and box your paint before you get ready to paint. Straining is important, as most paints these days will begin to dry on the can lid and dry chunks will fall into the paint. To avoid those chunks ending up on your walls, strain them out of your paints! Boxing your paints involves mixing multiple gallons in a larger container to avoid color and sheen inconsistencies between cans. Inconsistencies can be present even in high-quality lifetime warranty paints!
Additionally, the paint you choose can determine what your final results look like. Of course, this does depend on your budget for the project as well. As a professional painter, I’m a fan of using high-quality lifetime warranty paints for both interior and exterior painting. I’ve tried a lot of paints in my days, and I’ll just say - you get what you pay for! It never hurts to do your research, read some reviews, look at technical data sheets for specific paints.
The Masking Process
A lot of DIYer’s struggle in the painting process because they don’t take the time to mask off surfaces. As a professional painter, we mask everything and there’s a reason why - masking is going to keep paint off of what you don’t want paint on, especially your carpet! Masking with 9” paper and 1” tape will be your best friend - if you spill paint, you won’t be frustrated and upset because your masking will have saved the day!
Usually, we’ll run 9” paper around the baseboards, and some drop cloths up against the foot of the wall as well. I like to do 1” or 1 ½” tape around the edge of door jambs, windows, and sometimes on outlets as well, instead of cutting in around them - Green FrogTape can help you get super straight lines!
You might think that masking is a step that will take a lot of time, and might not even be worthwhile, but it’ll usually only take as much as 10 minutes, and it’s worth it to protect your floors and anything that needs protecting from paint spills!
What To Paint First
Before getting started, you’ll want to take a moment to figure out the process you’ll take as you begin painting. In any scenario, brushing, rolling, spraying, getting the trim painted is usually the first order of business, then two coats on the ceiling, and two coats on the walls. But, every scenario is different, so figure out what is going to be done in what order for your situation.
Brushing & Rolling Your Walls
One of the issues that I see DIY painters have a lot of the time is being able to see the previous color on the walls through the new paint job. One thing you’ve got to understand is that 98% of the time - you’re going to need to two coat your walls. As professional painters, most of the time we’ll be putting a light coat on as the first coat to allow it to dry faster, then we’ll apply a heavier coat for the second coat. The amount of paint you’re applying is directly related to how long it will take for the wall to dry.
There is definitely a technique to rolling your walls to get a good finish. One of the most important things you’re going to want to do is load up your roller - make sure the roller is saturated with paint. Taking it from the pan to the wall, I always slightly rotate it to avoid drips. Watch this video to see what I mean! And I’ll typically be doing 2 9” passes, rolling from ceiling to trim. Unload the roller, lay it out, then reload it! With the next load, overlap 50% and go for it! This is my preferred method to apply an even coat of paint, and ensure that there’s always enough paint on the wall. Check out our YouTube channel to watch us put this method to the test, time and time again.
Regarding cut ins, I like to do them between the two coats so that the second coat can cover up any lap marks or haloing. Again, this is something that can depend on the exact situation that you’re in. For tips specifically regarding cut ins, you’ll want to check out this video where I show you how to do cut ins like a professional painter!
Videos:
The Six Steps to Painting A Bedroom | Interior
An Ultimate Guide To Cut Ins: Paint Straight Lines Like A Pro!