


Painting Drip Metal
Whenever I’m painting the trim on a house, a lot of the questions I hear have to do with the drip metal and whether or not it should be painted. With all the debate and controversy over the subject, I wanted to go over some of the factors that go into this decision to clear the air once and for all. Stay tuned to understand why I paint my drip metal and get some useful tips on how I do it.
One of the biggest reasons I hear for why you shouldn’t paint your drip metal is that the paint isn’t going to stick to it, and that it’ll just end up peeling within a year. This could be true is you use inferior paints. I only use lifetime warranty coatings like BM Aura that are self priming. I’ve never found adhesion issues to be a problem because the metal is usually powder-coated and the paints we use on exteriors stick to powder coating. Since it isn’t a galvanized metal with an oil on it, the paint will stick to it without priming or scuffing. In many cases, the drip metal I’m working with is previously painted and is still in great condition.
It’s likely when painting your trim a whole new color that the drip metal was painted on the previous job. Because of this, deciding not to paint it when changing to a drastically different color will result in a mismatching color left behind that breaks up what would otherwise be a clean, unified coat. This is evident, where I’m painting dark gray trim white. The metal is dark grey and will not match the new color white. You will see it looks weird and unfinished when the drip metal is a different color then the trim. The lines will look unclean, and what should be a thick, solid look between the trim and roof is divided by a color that doesn’t belong.
Drip metal is also not a high gloss finish but rather a satin finish that quality exterior paints bond to with no prep work at all. The logic is the same with a metal front door or garage door. Your garage doors come powder coated and everyone paints them without question. Take that confidence and paint the drip metal.
When you paint your metalwork, you want to apply the first coat with a small wienie roller, being careful with how much pressure you apply to keep the paint off the shingles and roofing. Tilting the roller away can help you maintain control and prevent any accidental overpainting. Using a weinie roller like a jumbo roller that has the nap over the end helps. I use the Blue Tiger jumbo roller with 3/8” covers.
I used a 3” Premier Riverdale angled brush for my second coat. I use this brush on all exterior painting. This brush has Chinex filaments, which paint won’t stick to once it’s dried. On a hot day the paint will dry fast on brush filaments, but it’ll clean up easily when you’re done if your using Chinex filaments.
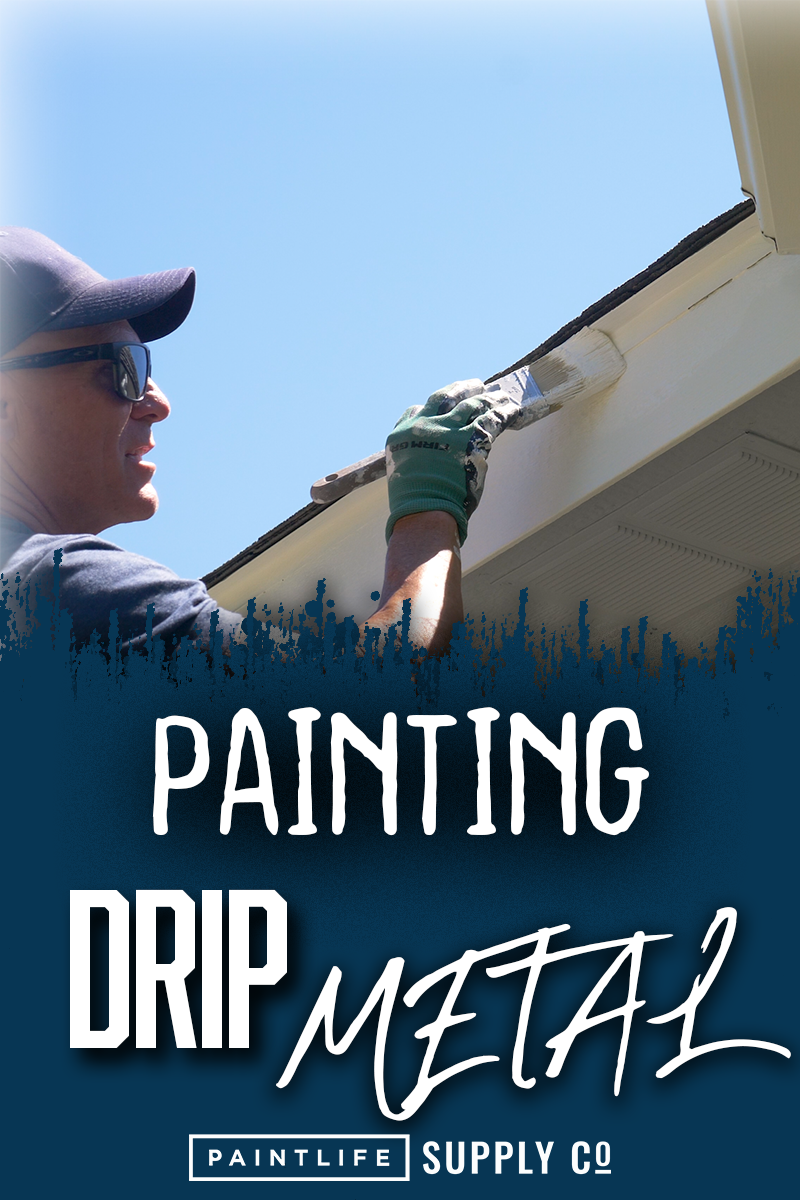
Using the brush, I apply the second coat and then cut in to get those detailed, crisp edges next to the roofing. For sections where you find yourself up on a ladder, a Brush Buddy will come in extra handy and allow you to clip your brush onto your bucket whenever you need. After finishing the second coat check for light spots and do touchups. When you’re done you’ll have a nice, thick-looking trim that you can be proud of.
2 comments
What about galvanized metal drip edge? In addition, I’m in Texas and the heat is very high in the summer as well as at other times of the year. That heat makes paint on metal drip edge peel and look unsightly. Thank you for your well done videos that are a great help to the public.
Thank you soooo much! A roofer used a dark brown drip edge while installing our new roof. It looks terrible against our beige trim. You have given me a way to quit being upset and just fix it.