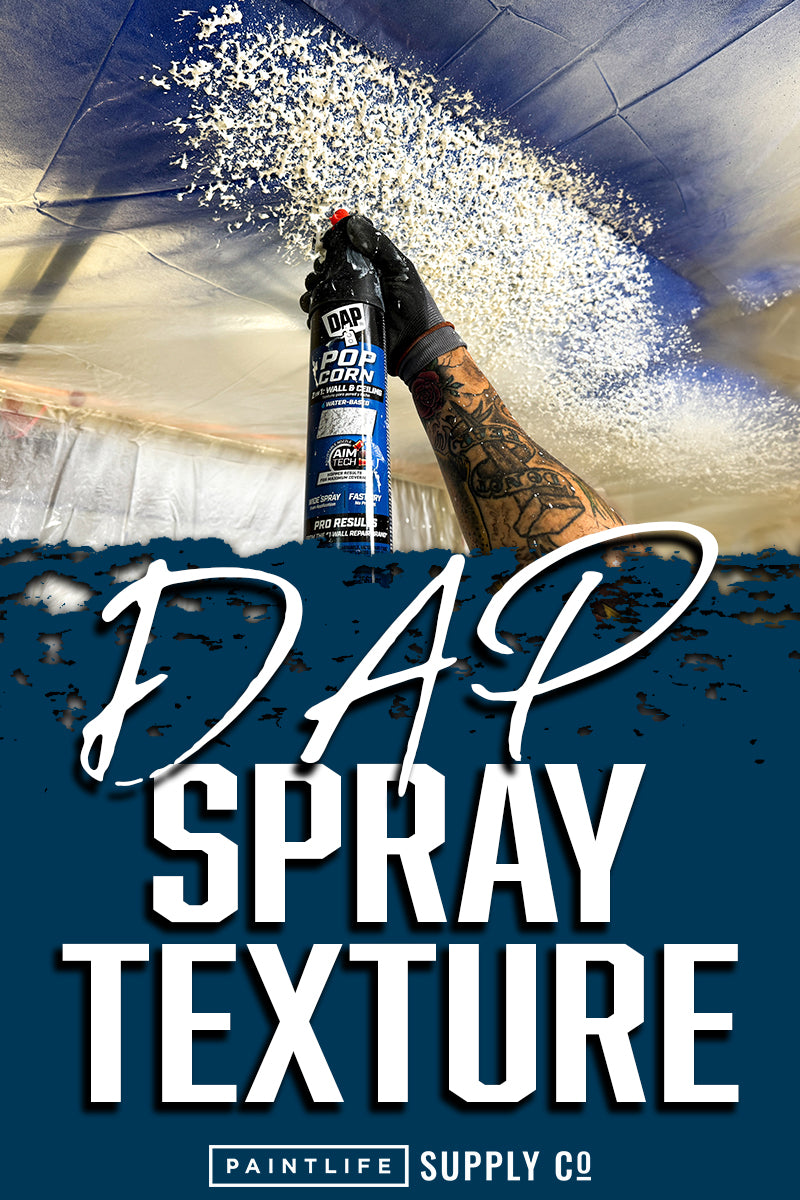
Dap Spray Textures
If you’ve ever needed to do some patches on interior walls, then you know how much of a lifesaver that cans of spray texture can be. And of course, just like any other product, there are a lot of brands and types of texture out there to wade through to find what’s right for you. Luckily, DAP is a brand that you can find at most major hardware stores, like Lowes and Home Depot, and you can now try out their new 2-in-1 wall & ceiling spray texture.
Recently, I got the opportunity to test out a few different types of DAP’s spray texture while doing some interior California patches to cover up a few unused outlet boxes in a home. The four different types of spray texture that they have are a water or oil-based orange peel, knockdown, and popcorn texture.
Since I hadn’t used spray texture in a while, I tested the cans out in my garage to check out the features and find out the best ways to use the cans so I wouldn’t spray this texture everywhere at the customer’s house.
The orange peel and knockdown texture types have three application thicknesses - fine, medium, and heavy. With this, you’re able to dial in exactly the right amount of texture that you need for your surface. This is extremely helpful if you’re trying to match the previous texture on a wall. The nozzle on the can also allows you to change the angle that you’re spraying out the texture at; this is how you’re able to shoot upwards to apply the popcorn texture on the ceiling. There is also a tab that acts as a locking mechanism to keep you from accidentally misfiring the can and squeezing the trigger accidentally.
When you first start using the can, start by shaking it for at least one minute. If you don’t do this, the product won’t come out consistently. Additionally, the first pull of the trigger for a can is going to be full of a protective fluid, so make sure that you discard that into a bucket or the trash.
One of the application tips I learned when testing out the cans in my garage is that the best application is in short bursts. If you hold down the trigger, the pressure is going to start to drop in the can. So, even when I was doing the patches at the customer’s home, I was using this method and building up the texture in a circular pattern to build up the texture. Hold it about 12-18” away from your surface to avoid any texture flying off to the side. But, if the texture does land on something it shouldn’t, unless you’re using the oil-based orange peel texture, you’ll be able to clean up with water.
Before I applied the textures on the jobsite, I did a few California patches to get rid of a few outlet boxes/covers. I skimmed over them with drywall mud, sanded, skimmed and sanded again. I definitely would recommend using a sander that is attached to a vacuum, especially inside a customer’s home to avoid creating dust everywhere. For my first sand, I’m going to use a flat abrasive, then after my second skim of drywall over that, I use a half-inch sponge that’s going to contour and not sand down too heavy.
When applying the texture, make sure you have a drop cloth down below since it may splatter - take any necessary masking precautions just like you would on any other job. This process of just using a can of spray texture is super easy, and perfect for small jobs or patches. Much cheaper than actually applying an entire wall of texture with a hopper. After spraying the texture on in the above recommended application method, I’m going to sand over this with an abrasive just in my hand, with little to almost no pressure to just knock down any heavy spots that accumulated. Of course, this is going to be after the texture has dried.
Another cool feature of DAP’s spray texture line is that the water-based products are going to dry in 30 minutes. After that, you can apply your paint - no primer needed. This is really cool, since a lot of the spray textures I’ve used over the last 20 years have required at least an overnight dry before being able to paint over it. On this project, it did take a little longer for the texture to dry, but that was all to do with the temperature in the house, and it being cooler than usual.
I’ve also got a couple of tips for the popcorn and knockdown textures. I was pleasantly surprised by the popcorn texture when I sprayed it on the ceiling in my spray booth. Spraying it on a vertically hanging surface, it was similar to orange peel, but when it was hanging horizontally, the gravity made it look exactly like any other popcorn ceiling texture. And for using the knockdown texture, be prepared for it to come out a little heavier than you might expect. This is because you need to have a drywall knife with you to knock it down. You only have between 30 seconds and a minute after application to do so, as well. If you’ve never applied knockdown texture before, make sure you are prepared and that you maybe do a practice run or two!
