


New Construction Painting
What’s the difference between repaints and new construction? Well, if you’ve ever worked a new construction job, you know that it’s a whole other beast compared to doing a repaint - interior or exterior. During a repaint, as a painter, you’ll likely be in constant contact and communication with the homeowner and working around their schedule to get the job done. You’re also able to work around other jobs that you have going on and set your own schedule as to when you’ll be working. In new construction, you’ll be working with the builder on their timeline. But, no homeowners around or coming home at the end of the day means that you can work as many hours as you need to get your work done. I’ve gone in and spent 16 hours prepping & painting some new construction houses some days. There are little benefits like that to these types of jobs.
When dealing with builders, it’s important to remember that they are balancing all steps of the construction process, and a lot of other contractors. A builder is going to determine the timeline in which you & your team will be going in to do various steps of the process, giving you exact dates. These can be delayed or even moved up due the work other contractors are doing; like the trim taking longer to be installed, etc. Likewise, it’s also courteous to the other contractors to get your work done in a timely fashion so you aren’t delaying them. There are also other things you can do during the painting process to make other contractor’s lives easier, like taking the time to mask off electrical outlets or not get overspray all over any exposed piping. So, new construction can really be a collaboration at times, and while you may not be dealing directly with the homeowner, you’ll be working with the builder and their other contractors.
When you first step onto the jobsite, the drywall will just have been finished. At this point, it’s time to PVA prime the walls and ceilings throughout the entire house. This is a necessary step, as drywall is extremely absorbent and will suck up a lot of whatever you’re first applying to it. PVA Primer is cheaper than other primers, and is designed to seal drywall. If you use other primers, or even mistinted/old paint, down the line the adhesion of your paint is extremely likely to fail. In a repaint down the line, this is likely to be seen with masking tape pulling off the paint. So, the best practice is to come in and PVA prime the drywall for the best adhesion to make sure the drywall is sealed properly.
But before you break out your sprayer, there is going to be some prep to take care of. After the drywallers leave, there’s going to be a lot of drywall dust on the ground and walls. The first thing I do is take a dry mop and mop the walls, going over them lightly to knock a lot of that dust off. This is another thing that could cause improper adhesion, especially of the PVA primer. But, this is a step that shouldn’t take you very long to do - you’re not going to be losing hours out of your workday adding this to your checklist.
After that, it’s important to take your shop-vac and vacuum all of the dust off the ground; make sure you’re getting up close to the wall. An airless sprayer is going to kick all of this dust up as move around the room, blowing it back up onto your wet surface. If you’re doing new construction jobs and don’t have a shop-vac, you need to get one immediately! It’s something
you’ll be using between every step to ensure the best finish on your walls. Nothing is worse than needed to sand skip-trowel textured walls because the surface is now rough. Vacuuming frequently and well is very important to the new construction painting process.
Next up is that I like to caulk the windows. Now, you don’t have to do it right now in the process, but you will need to do it before the paint goes on the walls to ensure that the caulking gets painted. Otherwise it will get tacky and collect dirt & dust over time. I like to do it now while I have time, making sure that this caulking is going to get painted over multiple times. All you need is a high-quality sealant that bonds to bare wood & a sponge to start sponge caulking these windows. I even like to hit the ceiling corners in every room because, as someone who has done a lot of interior repaints in my life, it sucks to do ceiling cut-ins when those corners aren’t a perfect 90 degrees. Do your fellow painter a favor and make sure those corners look nice now when it’s easily fixable.
When it comes to masking before spraying, in a new construction home the most important thing to mask is the windows and any doors. Other than that, there may be some small areas like electrical sockets, can lights, or pipes. If you’ve already done the window caulking, make sure that your tape leaves that caulking exposed so that it can get painted. For this project, FrogTape Blue served me well as it has a long release time. I could leave this on for several days if I needed to, and there was always a clean release, plus ultra-straight lines.
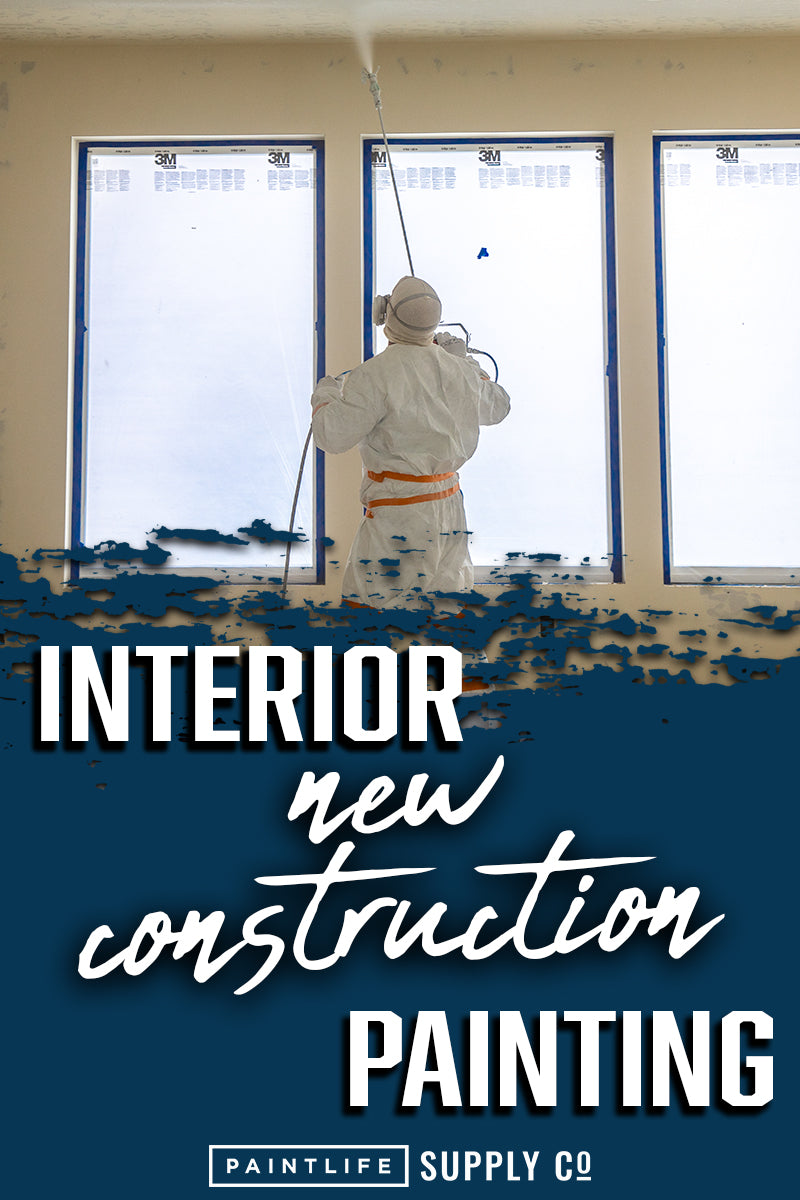
Now, it’s time to actually apply the PVA primer. You can use whatever size tip you feel comfortable with, but new construction is one of the times that you can use large tips and not care about overspray as much. For most of the last project I worked on, I was using a 619 HEA tip, but if you feel comfortable, you can go as high as a 1223 tip. When I’m spraying walls & ceilings, I usually break out a large sprayer, like the Titan 840. A large job needs a sprayer capable of handling it.
In my opinion, once you’re done spraying, it’s a good idea to remove the masking immediately. As long as you’re careful not to touch any wet surface, you’ll avoid the possibility of paint bridging and you’ll be guaranteed a clean removal with FrogTape products. After that, it’s time to pack up your tools and leave the jobsite for a bit. Next, the carpenters are going to come in to install trim & doors, which means you’ll be back to start painting the walls and trim in a week or two.
When you return to the jobsite, the first thing you’ll do is remove all of the interior doors. These should be put in a safe place, like the garage. Somewhere out of the way where they won’t get damaged. While removing each door, you’ll also want to label the doorjamb and door to make sure each door will be put back in the right spot, in the correct orientation at the end of the job.
After this, you can start prepping your trim. To get beautiful perfect trim, this is the process that I use:
- Spackle
- Sand
- Bondo
- Sand
- Caulk
- Prime
- Touch-ups
- 1st top coat
- Last touch-ups
- 2nd top coat
Now that may seem like a lot, but it does depend on the builder’s expectations of how perfect the trim should be. The builder may have different expectations based on the value of the house and therefore the overall project budget. Subjects like this should be discussed with the builder when you take the job, so you know that the work that you’re expected to do will match the amount you’re being compensated for.
Steps like spackle & bondo are going to be used to cover up any nail holes or damage done to the trim during the installation process. But before you start spraying, make sure to caulk your baseboards and doorjambs to make sure all gaps are sealed. Sponge caulking is the best method to ensure a beautiful looking bead in these areas that will be viewed often. Once that’s all done, it’s time to prime and paint. And, the best part of painting the trim before the walls is not having to worry about masking off the walls - you’ll be painting them soon enough!
While you’re working on trim, there are also other projects around the house. Around this time is when you’ll want to be painting any closet packs - one of the worst parts of new construction painting, in my opinion. Closet packs have similar steps for prep as trim, and also receive a primer and top coat. The difference is that certain primers may raise the grain on closet packs due to the type of material that those are made out of. You’ll either have to put a lot of energy into sanding this down, or you can use a water-based millwork primer. On my last project, I used Sherwood Gen II and also tried out using Zinsser Bullseye 1-2-3.
With no furniture in the house and a lot of wide open empty spaces, this is also a good time to paint those doors you put out in the garage earlier. Stacking the doors in a Z fashion using door stands like these is a fast and efficient way to get a lot of doors sprayed quickly. In my Interior New Construction Online Course, I’ve got in-depth videos on painting doors both standing up and laying down to help you out with whichever way you feel comfortable painting doors. This course will also walk you through every single step of the interior new construction painting process. There are even in-depth videos on every step of the trim prepping process listed above.
At the last house I worked on, around this time in the project, I also worked on small side projects like painting the mantle and staining a wooden handrail for the stairs. When talking with the builder about taking the job, find small projects like this to help upsell yourself and the work you do. Just don’t forget to add it to your estimate.
Now, it’s time to mask off the trim and start painting the ceilings and walls. In new construction, it’s cheaper for the builder and future homeowner to have the walls & ceilings be painted all one color. So you can take your sprayer and just like with the PVA primer, spray everything pretty quickly with a large sprayer. If there are rooms with individual colors or accent walls per the homeowners request, then those smaller projects are something you might want to tackle before getting to the walls & ceilings of the rest of the house Having a combination of large and small airless sprayers at your disposal can help when you need to break off to spray small projects but don’t want to clean out your large sprayer.
When it’s time to get down to business, spray the ceilings first, then the walls. This playlist on YouTube has a lot of content on various spraying situations on an interior new construction job. Here you’ll find detailed videos on spraying ceilings and walls to help you out on your journey, including some recommendations for spraying accessories that will help you out, like these quick-release gun extensions. Once all your spraying is done and masking removed, you’re once again ready to leave the jobsite and let the rest of the contractors come in to wrap up the job.
In a few weeks, the builder will contact you about coming back to do some touch-ups. Entryways and the trim may get dinged up when moving cabinets in, or more trim may have been added after the installation of carpet. Just because the walls are painted doesn’t mean your job is done! If you’re the owner of a painting business, I recommend having a small touch-up crew on standby, as the request for touch-ups can come at an unexpected time when you’re working on another project. Speaking as the former owner of a painting business, it’s nice to have a couple people to send off to do those touch-ups instead of scrambling last minute to find availability in your schedule.
And well, that’s the process of interior new construction painting! There’s a lot more prep work and a larger time investment compared to repaints, but it’s very rewarding to see the process all the way through. This information about new construction painting in this blog post, on my YouTube channel, and in my course, can benefit you if you’re painting a house you’re building yourself, a painter working for a company looking to build up your skills, or the owner of a painting business wanting to learn more and expand your work into the new construction space. Start now and put the effort into educating yourself and showing up at the jobsite as the best version of yourself everyday.