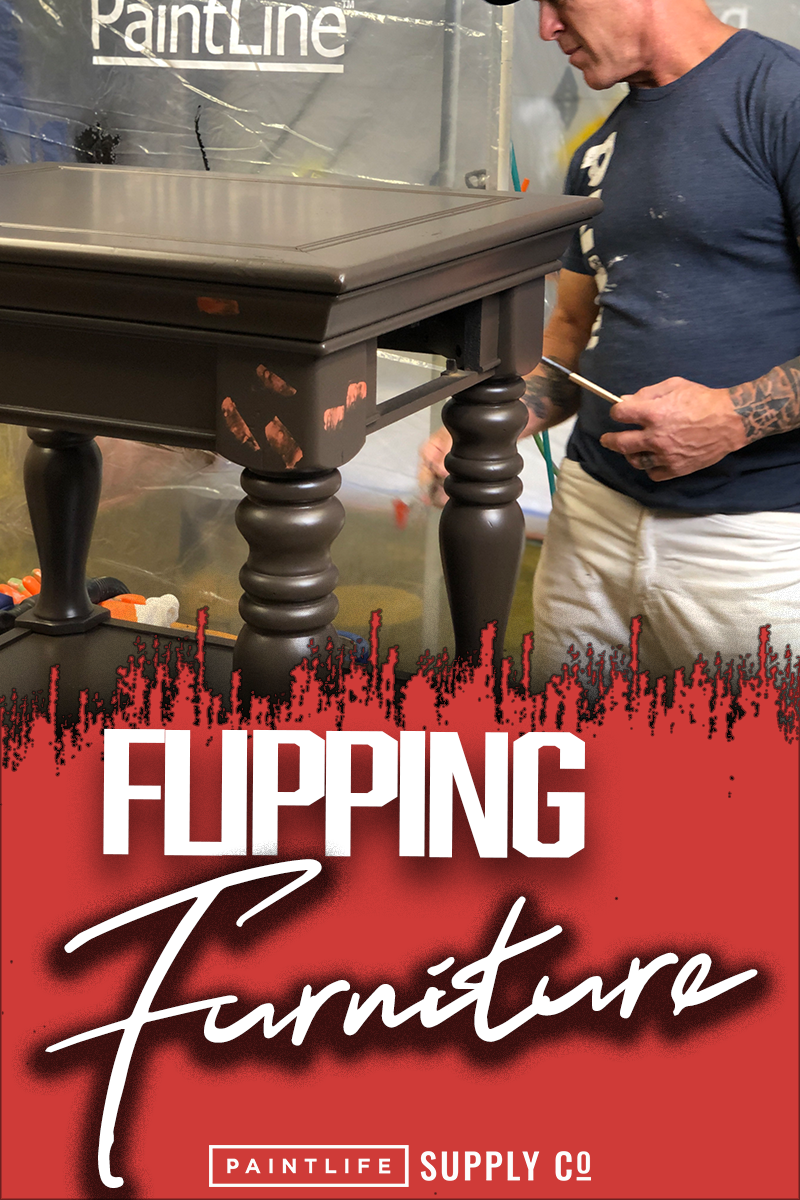
Flipping Furniture
Some of us want a quick and easy way to make cash. Most of the time, though, they require a significant investment of your time or money - or both. So what’s the secret? The problem with most money-making methods is that they focus on how to make money immediately, and almost never take longevity into account. By thinking ahead and making efficient use of your materials, you can give a blemished, $1 piece of secondhand furniture a second life and rejuvenate it to a quality that will sell for up to $400. All it requires is a piece of furniture, Varathane repair markers, Varathane wood stain that is matched to your piece of furniture, a pack of Crocodile Cloths, a set of Ekadiamond abrasive sponges, and a gallon of either 1k or 2k water-based polyurethane clear coat.
Between all these materials, you’ll be spending somewhere in the neighborhood of $65 - and the best part is that each of these materials will last anywhere between 5-10 pieces of furniture, so you won’t need to purchase them every single time. If you don’t have access to a sprayer you can still do the entire process with a brush, it’ll just take a bit longer. The upside however is that you won’t need to spend anything extra on masking materials.
The first and arguably most important step is to wipe each face of your furniture with Crocodile Cloths to get rid of any unwanted dust or debris and prevent that fisheye look when we go over with our clear coat later. One side of these cloths is rough, so you can scrub at anything that requires a little elbow grease to remove. These cloths are also perfectly safe for your skin, but I prefer to wear gloves at this stage regardless because of the stain from the furniture. When your cloth gets dirty, switch to a new one so you aren’t just smearing that gunk across the furniture’s surface.
Next, you’re going to use the Ekadiamond sponges to knock down the worn edges of the furniture. If there are rougher patches, you’ll want to use a rougher grit, but if not feel free to use a finer grit. After you’ve smoothed over all the rough edges, it’s time to run the Varathane markers along them to get rid of the scratched that’s showing on the finished surface. There are several different colors of markers to choose from; use the colors that are the closest match to your furniture so they’ll easily blend into the wood. For smaller nicks, 1 color should be fine, but for larger ones you’ll want to blend them together. To blend these marks into the wood, simply dip a microfiber cloth into your Varathane wood stain and use it to go over the markers blending them together.
Something important to remember here is that most furniture’s feet are pretty dinged up even though they’re mostly out of sight, so don’t let yourself forget to go over them. The most important face of any piece of furniture, though, is the top because it’s the most visible. After you’ve marked all the nicks and completely blended them, wipe down the entire surface with the wood stain and make sure no exposed scratched or bare wood is visible. If you come across any contaminants that were missed the first time, make sure you remove them with Crocodile Cloths; you want your furniture to be completely clean before the clear coat.
If your furniture has drawers, you’ll want to repeat the cleaning and blending process for each of them to get them all in their best condition. And even though you won’t be spraying inside, it’s worth it to mask off those drawer glides and rollers, just in case. I used 1 ½” Orange FrogTape, which is delicate and will come off easy.
It’s finally time to apply the first clear coat. I used a TriTech 206 fine finish tip with a 2K water-based polyurethane, not catalyzed so 1K. You should also be wearing a mask during this stage. I sprayed the sides, then the front, and did the top last. I also sprayed it on a bit heavier on the top because that’s the part that’ll see the most abuse, and I used a low sheen for more of a flat look. Let it dry for 45 minutes, give it a light sand, and then go over it all again with a second coat. If you’re spraying drawers too, mask them off with 9” masking paper and 1 ½” masking tape to prevent any overspray from getting inside. A hand masker and Tough Gaff tape holder will help make this as quick and easy as possible, but like I mentioned earlier, if you’re using a brush you won’t need to worry about any of this.
After the second clear coat has dried, go through each drawer and the inside of the furniture itself to tighten any loose screws or connections between the separate pieces. If there are any loose drawer sliders, use Gorilla Glue to fix them. You want every joint to be snug in order for the furniture to feel firm and new. Give the whole thing one last clear coat, and once it’s dried, reinstall the drawers. Now, you have a fully renovated piece of furniture that’s ready to be flipped!
Brought to you by Crocodile Cloths
