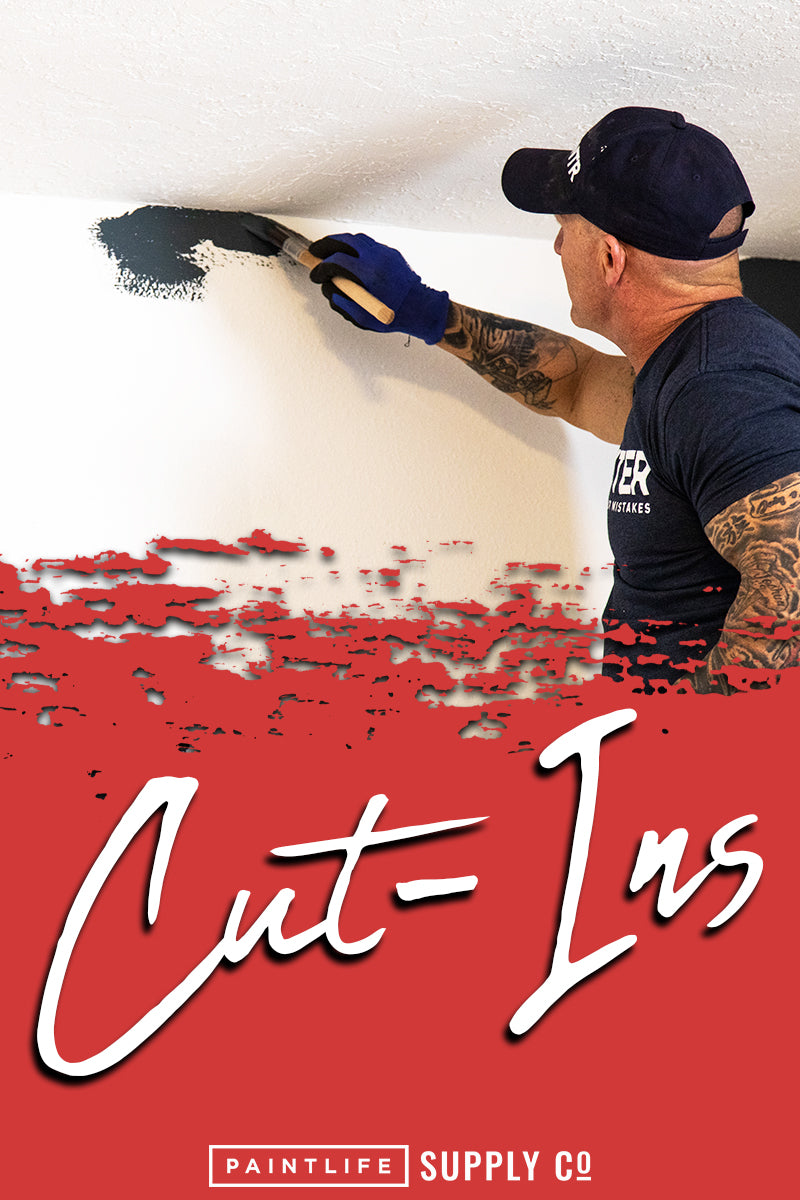
Cut Lines Like a Pro.
Tips, Tricks, and Hacks from a Pro Painter
I was driving with my wife when the name “Paint Life” popped into my head.
This was several years ago when I was still building a YouTube following and having an online store was just a distant goal.
Right away, I knew “Paint Life” perfectly captured the vision I had in mind— a place to connect with painters, share knowledge, and raise the bar for our industry. I wanted to build a hub for painters who live the craft, just like I do.
That’s why I’m excited to launch this Pro Tip series, Tips, Tricks, and Hacks from a Pro Painter. You’ve likely seen my YouTube videos, where I’m been sharing practical painting techniques for over a decade. Now, I’m bringing that knowledge straight to your inbox.
Expect a new article each month, filled with insights for painters at every level. Whether it’s a fresh technique or a reminder of the basics, there will be something valuable for everyone.
Thanks for joining me in living the Paint Life!
Today’s Topic:
The Tools You Need to Master Ceiling Cuts
Let’s talk ceiling cuts— also known as “cutting in.” This technique involves painting a straight, clean line where the wall meets the ceiling.
Perfect ceiling cuts require precision and finesse to look polished and professional.
When it comes to painting, the right tools are essential for mastering the proper techniques. Quality tools and solid techniques truly go hand in hand!
To master your ceiling cuts you’ll need:
- 3-Inch Angled Brush with Stiff Bristles
A 3-inch brush holds enough paint for efficient coverage but still gives you the control you need to avoid pushing paint onto the ceiling.
- Angled bristles: make it easier to reach into corners
- Stiff bristles: provide maximum accuracy
Avoid softer brushes— they’re harder to control, so getting those sharp edges is much more challenging.
My favorite brush for ceiling cuts is the Premier Brooke Paint Brush (which is actually named after my daughter Brooke!)
- 4-Inch Mini Roller
I recommend back-rolling your brush lines with a 4-inch mini roller. Brushes and rollers apply paint differently, so without back-rolling, your ceiling cuts might not seamlessly match the rest of the wall.
I always use the Blue Tiger Mini Jumbo Roller with the Premier White Woven Covers to get a smooth, consistent look when I’m painting walls.
- 2-Gallon Bucket and 1-Gallon Grid
A 2-gallon bucket is perfect for holding your paint and tools while you’re doing ceiling cuts. I use the 1-gallon grid (instead of the 2-gallon grid) because it’s the right size for the 4-inch roller and won’t overcrowd your bucket.
Add a brush buddy to your setup to keep your brush handy and clean. It’s the best brush holder I’ve ever used, and it only costs $4!
- 5-in-One Tool
Also known as a 5-Way, this multi-purpose tool can be super helpful for ceiling cuts. Use the pointed edge to score the 90-degree corner where the wall meets the ceiling, creating a small trough that helps guide your straight line.
This trick is especially useful for textured surfaces, like popcorn ceilings, giving you a sharper angle to get clean, straight cuts.
Bonus Tip: Applying clear caulk to the 90-degree corner can also help smooth out textured surfaces for better cut lines. Just make sure to give the caulk plenty of time to dry— preferably overnight— before you start painting.
You can find all these tools in the Cut In Starter Kit on the Paint Supply website, along with some extra goodies to keep your paint brushes in tip-top shape.
Happy painting!
Best,
Chris Berry
P.S. Now that you’re set with the best tools for perfect cut lines, stay tuned for the next article, where I’ll share more tips and tricks for painting clean, straight lines like a pro!
