


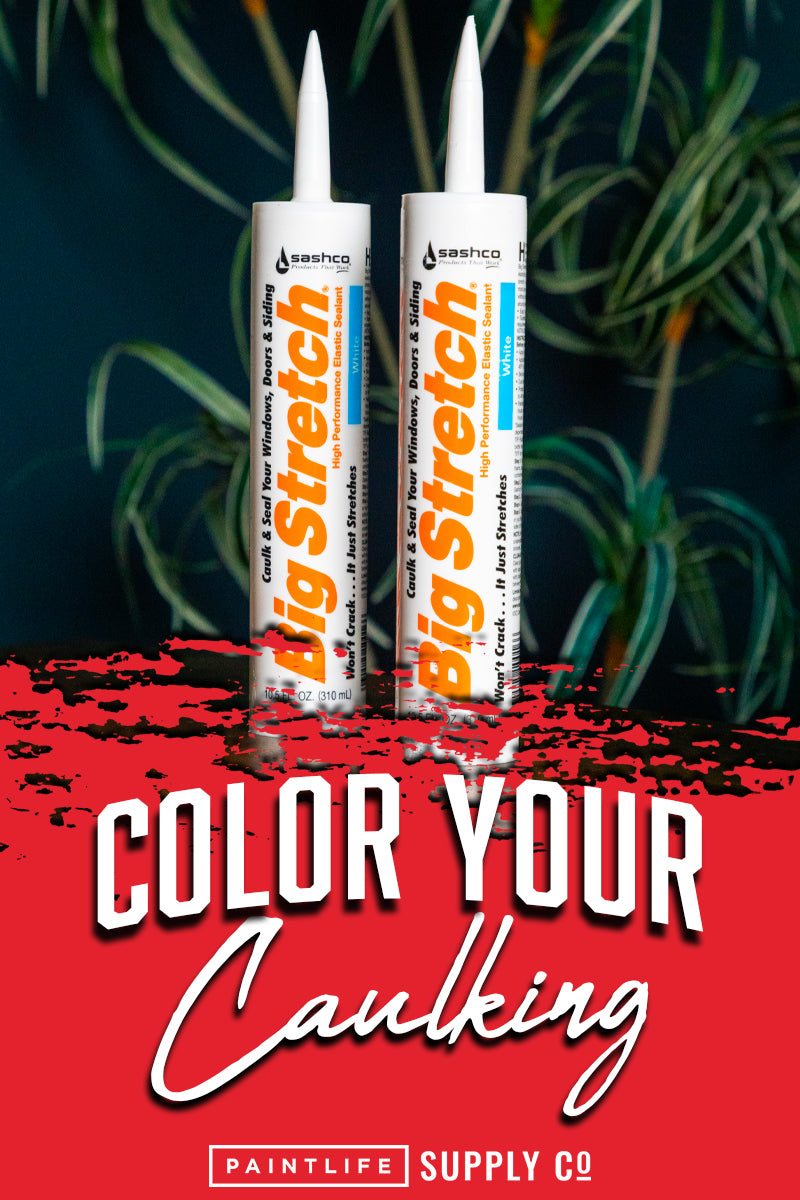
Color Your Caulking
Whether you're an experienced DIY enthusiast or just starting your journey, using colored caulking can be a game-changer when it comes to achieving flawless results. By matching the caulk color to your baseboards or other painted surfaces, you'll save time, money, and effort in the long run.
Traditionally, the color caulk process involved caulking the gap, letting it dry, painting over it, and masking the area before painting the wall. However, this process can be a bit time-consuming therefore, we have discovered a faster and more efficient method using a remarkable product called Exact Color Sealant tintable caulking by Sashco. This product allows color-match caulking to any color of your choice when using water-based latex paint.
Moreover, in order to give my paint a perfect finish I would prefer to use the typical method - by caulking the gap with paintable caulk & sealants, like Big Stretch, and letting it dry. In the next step, I would paint over the caulking with the baseboard paint, and carry the paint up the wall a half an inch to cover the caulking entirely. Then, I would mask the line with FrogTape and paint the wall color. I would pull the tape before the paint dries, and have a perfect line. The drawback to this method is the dry time of the trim paint and having to mask and paint the wall color. Time is money!
In this blog post, we'll delve into the benefits of color caulking, sharing step-by-step instructions to help you master the art of color-matching caulk.
Why Do You Need Color Match Caulking?
There can be a plethora of situations where you might need a custom caulk for a project. Hypothetically, if you are working on a project and your client has picked up a unique shade, finding pre-made caulk that matches will be challenging. In such cases, you must make a custom color to prevent unattractive caulk lines and flaws. Painting the caulk with the same paint color is a typical fix for this issue. But this further can have varied difficulties; for example, if you cannot find the matching color, you must make it on order, which can take hours or even days.
Benefits of Color-Matched Caulking:
- Enhanced aesthetic appeal: Color-matched caulking seamlessly blends with the painted surfaces, creating a cohesive and visually pleasing appearance.
- Seamless integration of painted surfaces: By matching the caulk color to the surrounding surfaces, you can achieve a seamless transition between different elements, such as baseboards, trim, or crown moldings.
- Elimination of visible caulk lines: Color-matched caulking helps hide the caulk lines, giving a more professional and polished finish to your project.
Custom Colored Caulk
Custom-colored caulk is a revolutionary solution that allows you to tint your caulking to match any desired paint color. Instead of searching for pre-made caulk shades or resorting to time-consuming methods, you can now create a perfect color match using your own paint.
With custom-colored caulk, you can achieve a flawless and professional finish, seamlessly blending the caulk with the surrounding surfaces. It's a game-changer for both professionals and DIY enthusiasts, providing the freedom to explore different colors and elevating your projects to new heights.
Exact Color: Another Game-Changing Product
Exact Color Sealant from Sashco is a true gem for painters and DIY enthusiasts alike. It saves you time, money, and headaches by providing a quick and straightforward way to create custom-colored caulk. This incredible caulk can be applied to joints up to 1/2 inch wide and works effectively on a variety of surfaces, including metal, plastic, and stone. Whether you're working on interior or exterior projects, Exact Color Sealant delivers outstanding performance without compromising on adhesion or elasticity.

One of the standout features of this product is its simplicity. There's no need for special tools or complicated mixing processes. All you have to do is add some of your desired paint color, followed by the hardener, and give it a good shake for 30 seconds. After just 30 minutes of mixing, the caulk is ready to use. It's a quick and hassle-free process that allows you to save valuable time and get straight to work.
Furthermore, Exact Color Sealant offers you the freedom to experiment with different colors until you find the perfect match for your project. Its user-friendly nature makes it an excellent choice for DIYers who want to elevate their projects with professional-quality results. Whether you're repairing existing joints with a custom color or refreshing your home's color palette with a new paint job, Exact Color Sealant is the ultimate tool for the job.
On top of it, Exact Color Caulk is Eco-Friendly and has low VOC!
In today's world, environmental consciousness is more important than ever. Exact Color Sealant takes pride in its eco-friendly composition and low volatile organic compound (VOC) content. Knowing you're using a product that prioritizes sustainability without compromising performance provides peace of mind.
Step-by-Step Guide to Coloring Your Caulking
- Prepare the exact color mixture: Start by gathering the paint color of your choice and the caulking material. Mix a small amount of paint into the caulk until you achieve the desired color. Remember to test the color on a small area before proceeding.
- Prepare the surface: Ensure that the surface where you'll be applying the colored caulking is clean and free of any dust, debris, or old caulk. Use a scraper or putty knife to remove any loose or damaged caulk.
- Load the caulking gun: Load the color-matched caulking into a caulking gun. Make sure the cartridge is securely in place and the nozzle is cut at a 45-degree angle for precise application.
- Apply the colored caulking: Hold the caulking gun at a 45-degree angle and apply a smooth and steady bead of colored caulk along the joint or gap that needs to be filled. Maintain consistent pressure and keep the gun moving for an even application.
- Smooth and shape the caulk: Use a caulk smoothing tool or a wet finger to smooth and shape the colored caulk. Remove any excess caulk and create a seamless finish.
- Allow drying and curing: Let the colored caulk dry according to the manufacturer's instructions. This may take several hours or even overnight. Avoid disturbing or touching the caulk during this time to ensure proper adhesion and durability.
- Inspect and touch up if needed: Once the caulk is fully dried and cured, inspect the area for any imperfections or gaps. If necessary, apply additional colored caulk to fill in any areas that require touch-ups.
Note: To achieve the best results and ensure precise application of your color-matched caulking, consider using our high-quality Caulking gun.
Tips for Perfecting Your Caulking Technique:
- Testing the color on a small area before application: It's essential to test the color mixture on a small, inconspicuous area to ensure it matches the desired color before applying it to the entire project.
- Using the right amount of caulk for an even finish: This section will guide how much caulk to apply to achieve a smooth and even finish without excess or insufficient amounts.
- Applying consistent pressure and maintaining a steady hand: Tips will be provided to ensure a consistent application technique, applying steady pressure to achieve a uniform caulk line.
- Cleaning up excess caulk for a professional appearance: The guide will offer techniques for removing excess caulk and achieving clean, sharp lines for a professional finish.
Bottom Line
Mastering the art of coloring your caulking can elevate your DIY projects to a whole new level. By using color-matched caulking, you can achieve flawless results that seamlessly blend with your painted surfaces, giving your project a professional and polished finish.
We explored the benefits of color-matched caulking, including enhanced aesthetic appeal, seamless integration of painted surfaces, and the elimination of visible caulk lines. Instead of the traditional method of caulking, waiting for it to dry, and then painting over it, we introduced a faster and more efficient solution using Exact Color Sealant tintable caulking by Sashco. This remarkable product allows you to custom-color your caulk to match any shade using water-based latex paint, saving you time and effort.
With the knowledge and techniques shared in this blog post, you're now equipped to paint like a professional and achieve impeccable results when coloring your caulking. So, grab your caulking gun, select your desired paint color, and get ready to transform your projects with seamless and beautifully matched caulk lines.
Shop Now and take your caulking skills to the next level!
1 comment
If in the future you need change the colour of the walls or baseboards can this sealant be over painted and take to it