


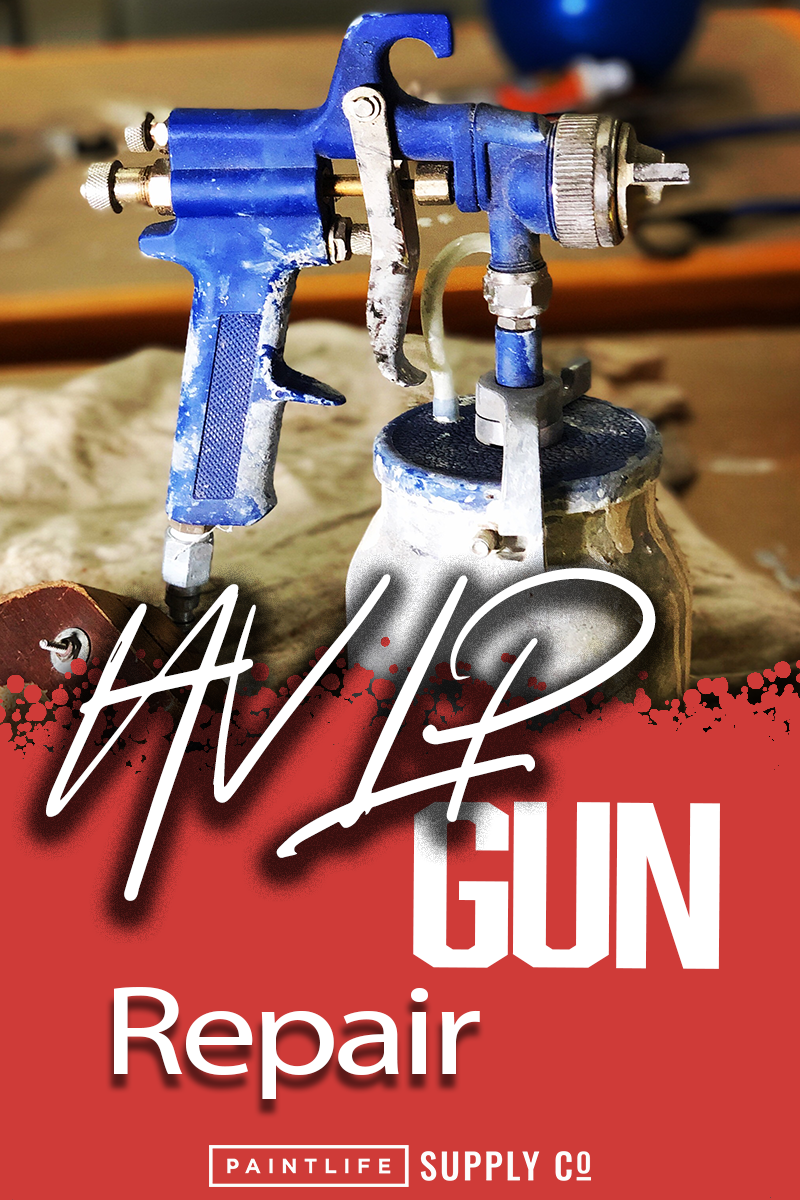
Capspray Gun Repair
An HVLP sprayer gun can be an incredibly useful tool for painting - turning an hour of work into a matter of minutes. The Maxum Elite and the Maxum II are some of the spray guns I use, and for good reason; they do their jobs very well. But what happens when a gun begins to leak? I get asked this same question quite often, and fortunately the fix is a simple one that anyone can perform by themselves with the proper tools and knowledge of the equipment. Today, I’ll be walking you through each of the steps needed in order to maintain your HVLP gun and keep it spraying paint for a long time to come.
When a Titan HVLP gun leaks around the trigger, it’s because the Teflon packing inside the gun trigger needs to be replaced, so the first step to repair your gun is to take it apart and remove the old packing. A 10mm wrench will be needed, and a small Pick Tool Kit is highly recommended to make this job much easier; available at Paint Life Supply Co. Start this process by removing the back cap of the spray gun to expose the needle. Pull the needle and the back nut off first and be sure to set the needle aside carefully and in a secure place. You don’t want it to get damaged in any way, including falling on the ground. Next, you’ll want to pull the trigger back to unscrew the nut that keeps the packing sealed tightly inside. Putting it back on can be a bit of a pain, but removing it is much easier.
Next, unscrew the front of the spray gun. Using the tool that comes with the gun, unscrew the needle nozzle set you’ve uncovered to expose the inside of the gun. This will allow you to push out the old packing. The packing looks like a small, white bundle of Teflon pipe tape that’s wrapped around itself to form a coil. Push it through from the front to get it out the back. You can use a pick from your tool kit to hook onto the packing if it gives you trouble at this point. After removing the old packing, it’s well worth it to take the time to deep clean your gun with acetone - including the insides and each individual piece you’ve disassembled - for the most efficient maintenance and for the longevity of your equipment.
The new packing, (available at Paint Life Supply Co.) will drop into your HVLP sprayer through the back of the gun trigger. Use your fingers and the picks in your tool kit to allow it to fall in place, then put the packing nut back on to seat the packing where it needs to be seated. There’s no easy way to do this part. It’s incredibly tricky, but I found that holding the trigger up made it much easier to get the nut on there and lined up straight. Once the nut is on there and the frustration of getting it there has cleared, use your 10mm wrench to tighten the nut. This is a critical step: you’re tightening the nut just to seat the packing inside, which isn’t very tight at all, so ease on the tightening until you can feel the packing seated inside. Don’t overtighten.
Now it’s time to reinstall your needle. Before you do so, lube it up with piston lube using your finger so that it slides in easier and lubricates the Teflon packing. Screw the cap back down and reassemble the remaining pieces of your gun after all of them are 100% clean, and squeeze down on the trigger to test how it feels. Hook the gun up to either product or water, then begin spraying at a low pressure to check for any leaks coming from the packing nut. If there are any, use your 10mm wrench to tighten the nut by ¼ of a turn. Test it again and repeat with just ¼ turn at a time until there are no leaks whatsoever. Your packing is now seated, and your gun leak free!
1 comment
what if your gun is leaking air from the fluid nozzle?